

Good Morning!
This week we shall be focusing on the Spellbinders Cut Fold Tuck Dies and sharing some creation with you of them. Il be honest with you I hadn't even heard of these before until a couple of weeks ago so they are fairly new to me as well as I'm sure they are to some of you lol
I have decided to share with you a quick run through of how to use them and how you can use them to create your own little Christmas Tree decoration!
First up I have decided to use the ROUND ABOUT design ...

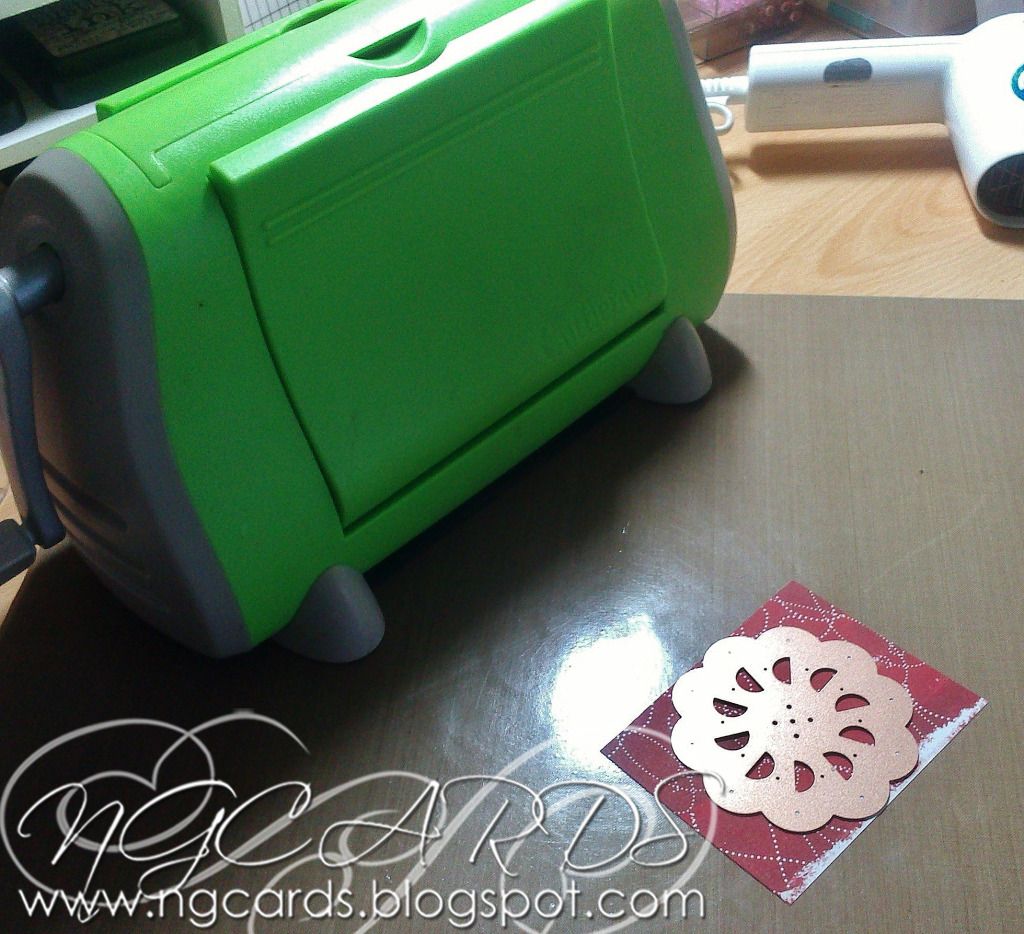
To start off with choose a scrap of design paper you would like to use, it could be plain or decorated. Place your die facing down on top of the paper and run through your die-cutting machine.
You will end up with something looking like this ...
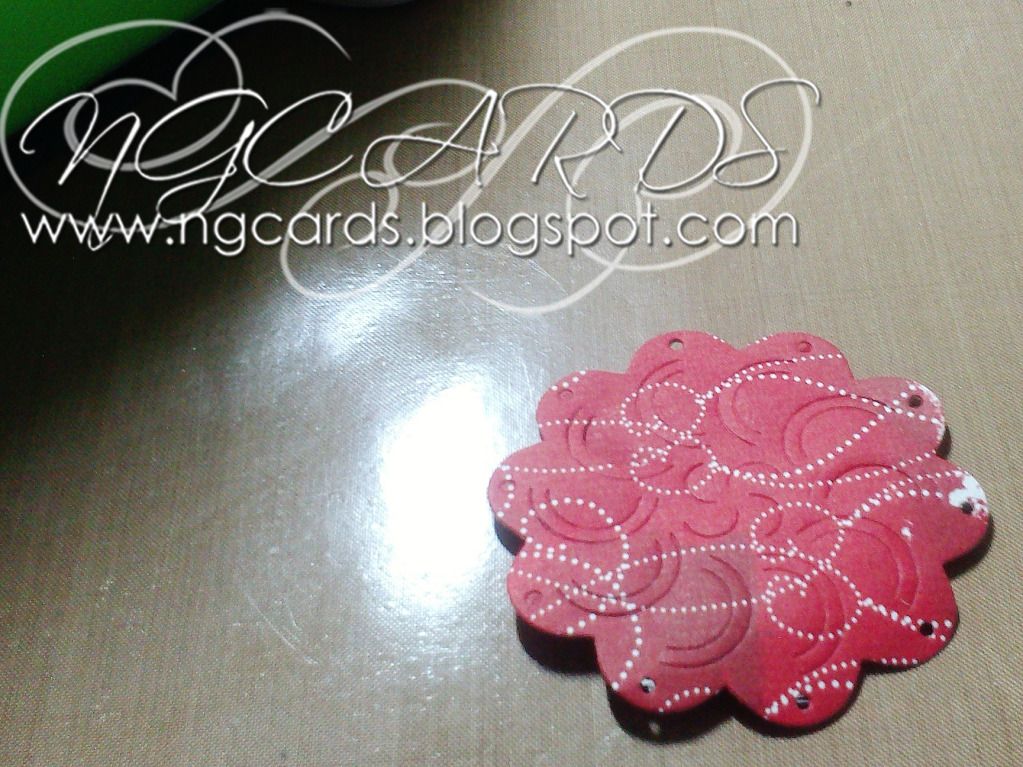
With this design you need to fold back the half moon designs on themselves and slot underneath the circles. Hopefully you will see what I mean from the following picture ...
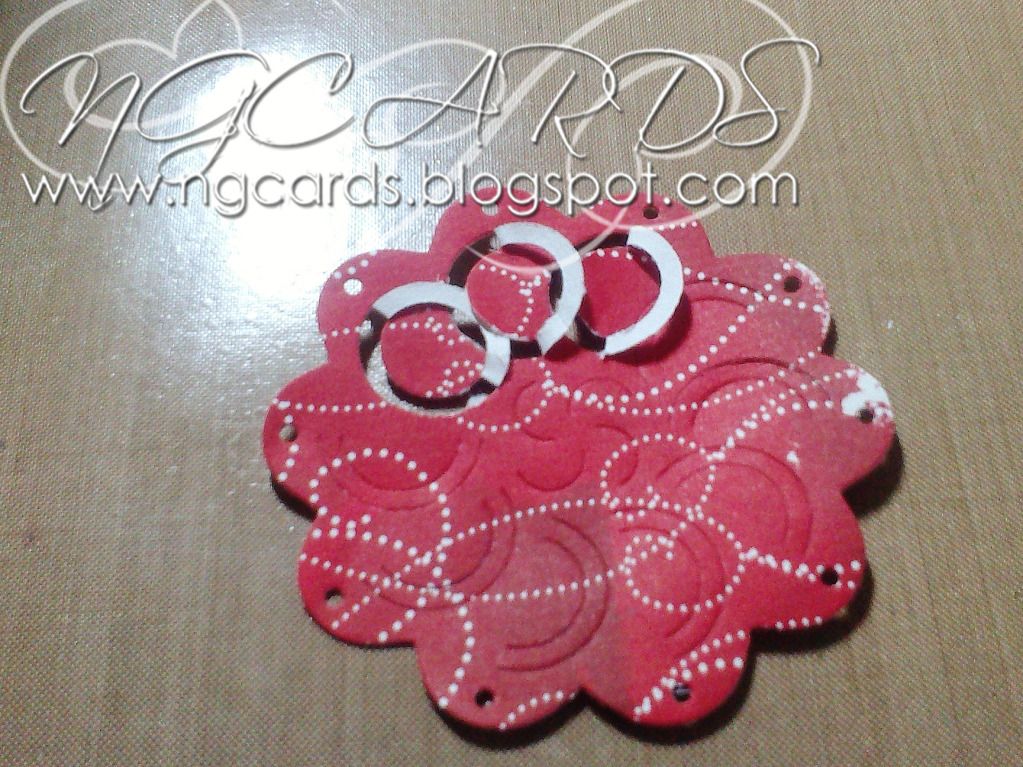
Continue doing this all the way round the design ...
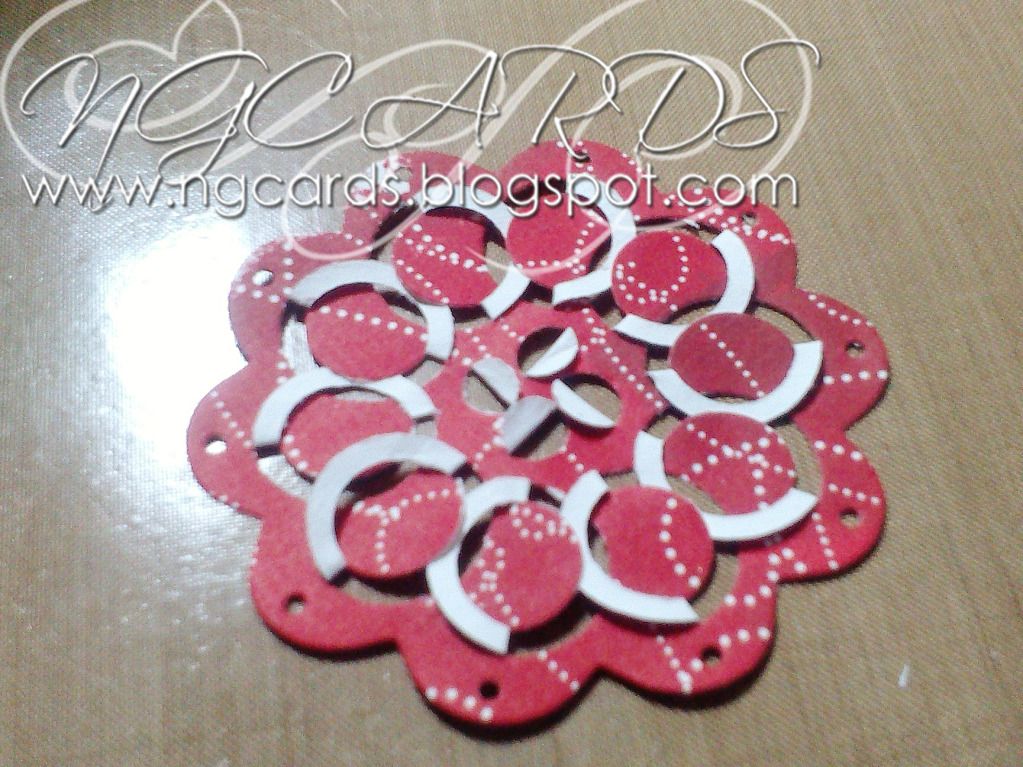
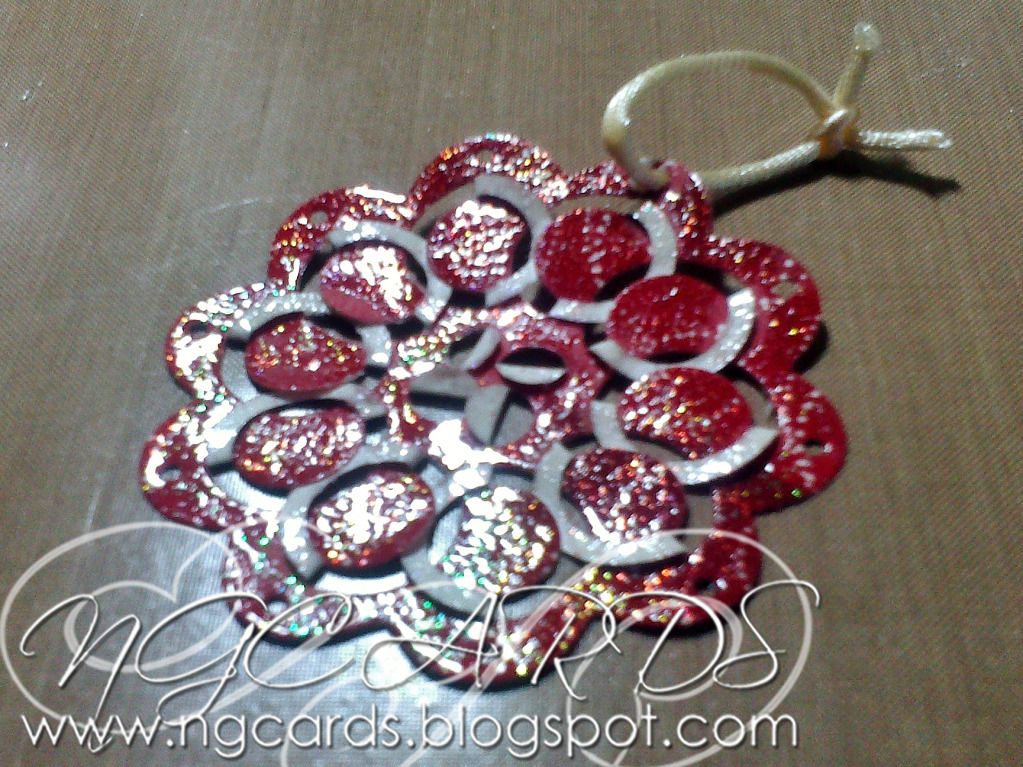
Once you have completed this it's now time to add a little bit of sparkle! Press a clear embossing pad all over the design and sprinkle over some holographic embossing powder, heat up and let cool. Thread a piece of ribbon through one of the holes around the edges to help pick up the design and also hang it when completed.

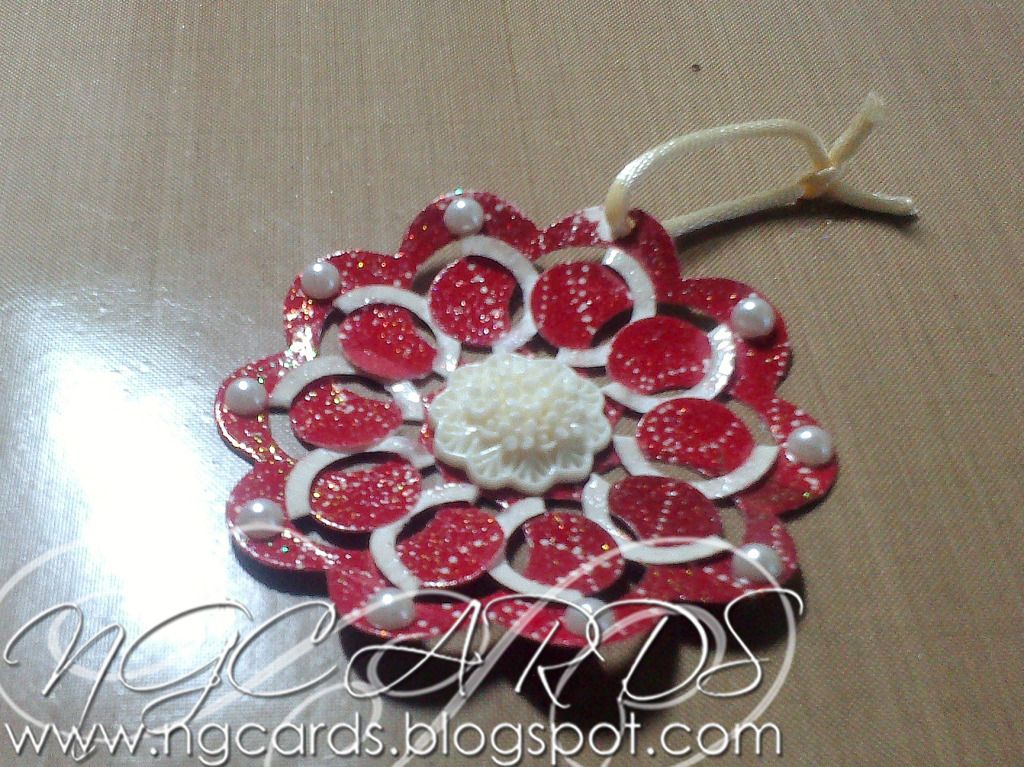
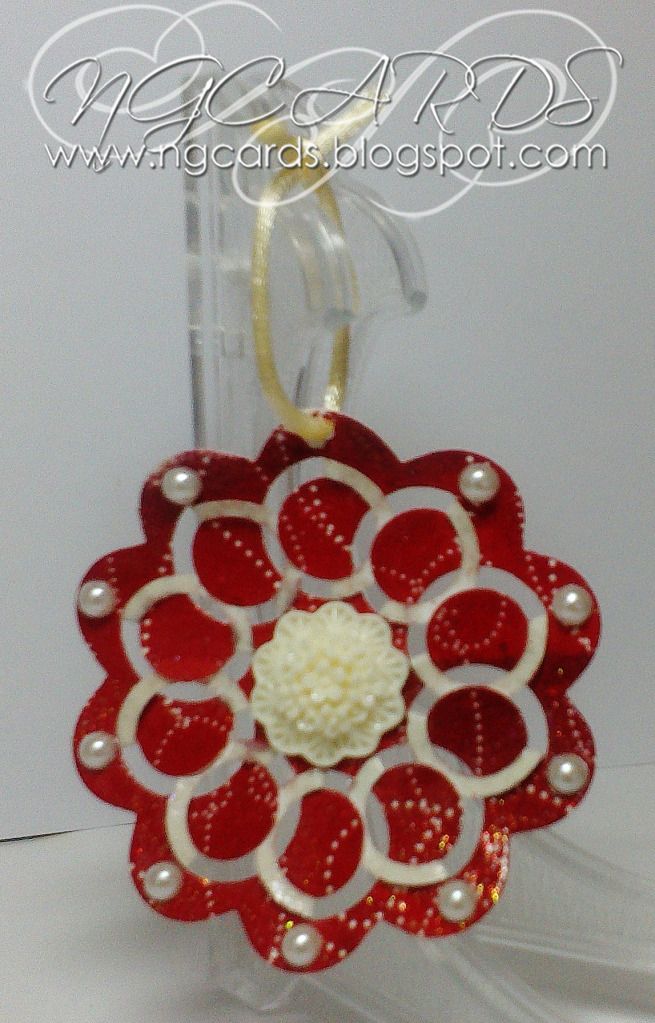
I have embellished my design with a large embellishment in the centre and adhesive pearls around the edges on top of the smaller circles. It is completely up to you whether you would like to embellish yours or keep it how it is!
INGREDIENTS -
Spellbinders Cut Fold Tuck Die - Round About
Scrap Design Paper
Holographic Embossing Powder
Ribbon, Large Embellishment & Adhesive Pearls
I hope you have enjoyed today's post and will give these gorgeous dies a go yourselves! I shall be back on Saturday with how you can use them on a card :)
HAPPY CRAFTING!
NATALIE
HAPPY CRAFTING!
NATALIE
XXX
Thank you, Natalie, for the tips!
ReplyDelete